4. Installing Campervan Heaters Continued.
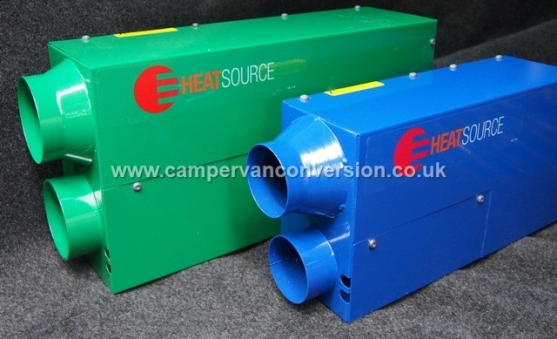
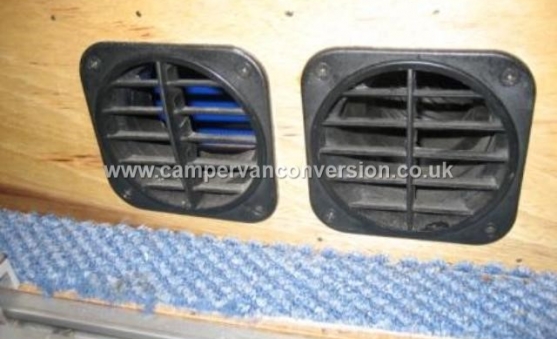
Once the heater's in place, you need to fit the under-van pipes and cut them to size. You then need to run the internal piping. The heater will pull fresh cold air from the interior of the van in through the air intake, warm it through the heater and then pump it back out into the van as nice hot air. The heater intake and out vent need to be mounted inside the van. The norm is to put them in the side of a unit which surrounds the heater. Remember to give yourself enough room for all the ducting – you have one intake right beside the heater and then you can have one or more outlets with ducting leading from the heater to the outlets. When buying a heater you often also get a 'fixing kit' which includes all the ducting, pipes, vents, fixings, etc - as standard the Propex 2000 heater is sold with the single outlet kit which we reckon makes a lot of sense and works well for the vast majority of installations. Many vans don't really need more than one outlet... however, there is the option to add additional vent and ducting kits, should you so choose. You should think carefully where you put the vents and make sure they'll be somewhere where they won't be blocked and remember warm air rises!
It actually makes sense to position the cold air intake slightly further away from the hot air outlet, and pick your vent locations carefully so they aren't going to have things dumped in front of them all the time. You'll also need to pick a convenient spot for the thermostat which controls the heater going on and off - the usual is to place it in a position similar to where you'll be sitting in the van and somewhere fairly central where you can easily reach it from your seat / bed / etc.
Finally you need to wire the heater and thermostat up to the second / leisure battery which for these heaters is really quite a straightforward task and explained in the instructions that come with the heater.


