How To:

Van Window Insulation

READ MORE IN NEW CONVERSIONS BOOK

Find lots more details in the NEW Self Build Campervan Conversions book

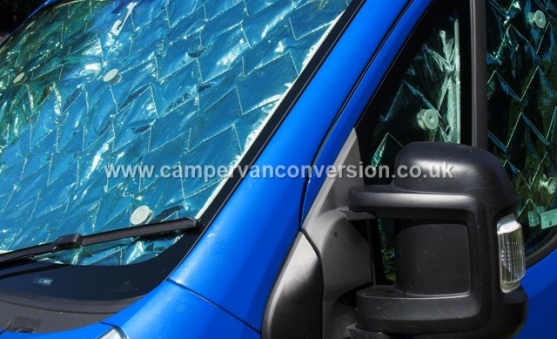
Cab insulation mats, foil side out to keep the van cool

1. Introduction - Insulating the windows

When you’ve gone to the time and effort of insulating the walls of your van why throw away that valuable heat by not insulating the windows? Window insulation mats, whether you buy bespoke insulation mats or make your own, are surprisingly important in stabilising the temperature of your campervan. The window mats, much like the rest of your insulation, can regulate in two directions - not only do they trap heat inside the van for warmth, they also reflect sunlight stopping the air inside your van from heating up excessively and thereby keeping the vehicle pleasantly cool.

The benefits are not purely about temperature - the mats do a brilliant job of making your van interior private and dark at night.  They also make an amazing difference to the amount of condensation you get on your windows over night and keeping condensation at bay is immensely helpful when trying to dry out wet kit!

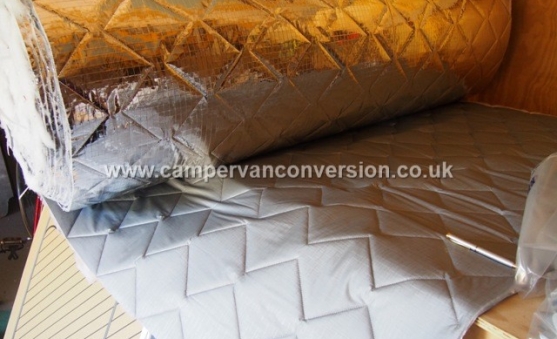
Window insulation on the role

2. Getting Started with Window Insulation

The idea behind window insulation mats is to cover the windows giving privacy and reducing the amount of light in your van as well as and possibly more importantly, allowing you to regulate and stabilise the temperature inside your van. The best van insulation mats are reversible with an aluminium coating on one side and a plain (usually grey) material on the other. The different finishes are there for a reason - the silver-effect aluminium reflects heat whilst the plain material absorbs it. If you want to keep the inside of the van warm (at night, in a cold climate) you put the mats up silver side in and vice versa if you want to keep the inside of the van cool face the shiny side outwards. The mats are secured directly on to the glass using suction pads.

Like most stages in converting a van there are two choices: either you can buy the mats ready made or have a go at making them yourself. Here we recommend a combination of the two; the cab windows are awkward and hard to make yourself, but side and back door windows are relatively straight forward. You can buy kits with all the materials you need to make window insulation mats yourself.

Shiny side in to reflect the heat inwards

3. Buying Window Insulation Mats?

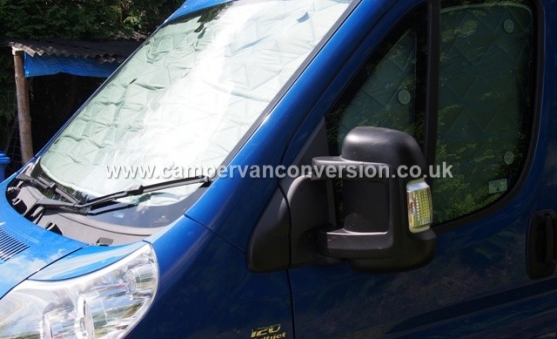
For more complicated window shapes, in particular the front windscreen and the cab doors, we recommend a set of 3 standard cab window insulation mats. These insulation mats are custom made for different van models so all the awkward things about fitting the cab window mats, like rearview mirrors or strange shaped windows, will already have been negotiated for you! A set of 3 window mats for the cab are great value and they should certainly save you some time and stress!

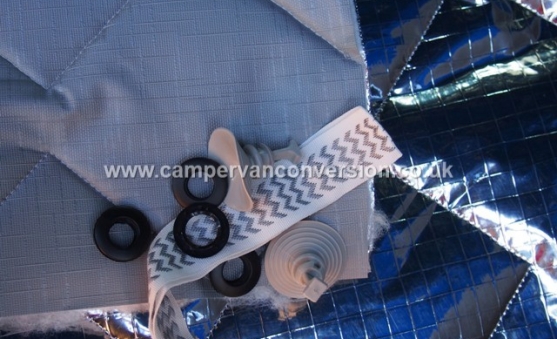
DIY insulation mat kit

4. Window Insulation Mat Kits

For side and rear windows, we recommend buying a DIY window insulation mat kit of everything (apart from the sewing machine and thread) you need to make your very own customised window insulation mats.

Kits should include:

  • Insulation material
  • Eyelets
  • Suction cups
  • Trim

This will allow you to trim to size the insulation material and should come with enough eyelets and suction cups for attaching your mats to the windows, reducing light, temperature change, and condensation. It can be tricky to find suppliers but you can also buy the insulation material by the metre.

5. Making the Window Insulation Mats

Obviously you need to calculate the lengths and amount of everything required based on the windows to be covered.  Always include a reasonable contingency in this calculation as it's far better to have a little too much than too little.

Trim the insulation material from the kit to size for your window and round the corners, this makes sewing on the hem much simpler as well as helping them to fit more snugly against the van windows. Pin and sew the hemming material, ensuring that it folds around the edge of the insulation material and is sewn on both sides, finally measure the mat back up against the window and mark where the suction pads should go. Remember that they need to be in full contact with the glass to work so don't put them too close to the edge of the mats. Using the eyelets as a guide, carefully cut out the eyelet holes and clip in the eyelets. Fit in the suction pads and you are good to go.